3D Printed network audio steamer using PiCorePlayer

I've been using the excellent Logitech Media Server for a couple months now (having found PlexAmp's support for my Sonos speakers to be painfully lacking) to play music all around my home and I’m really pleased with the experience.
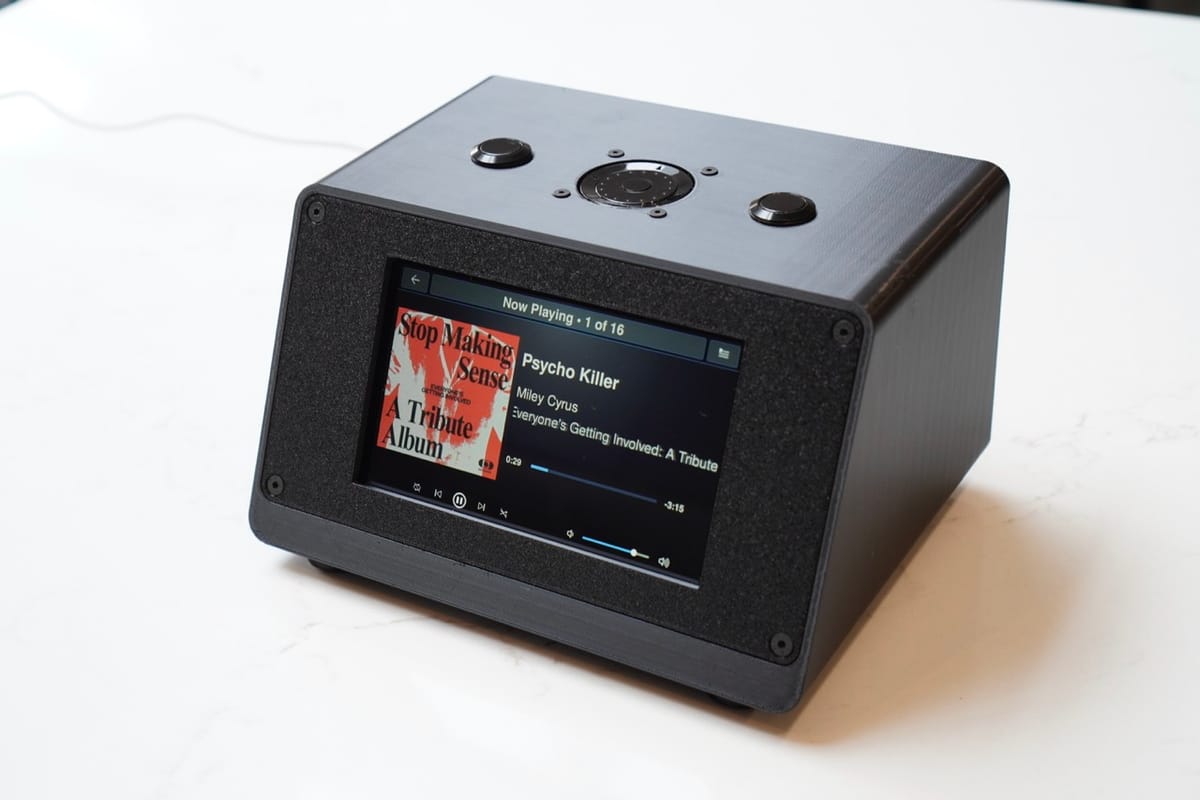
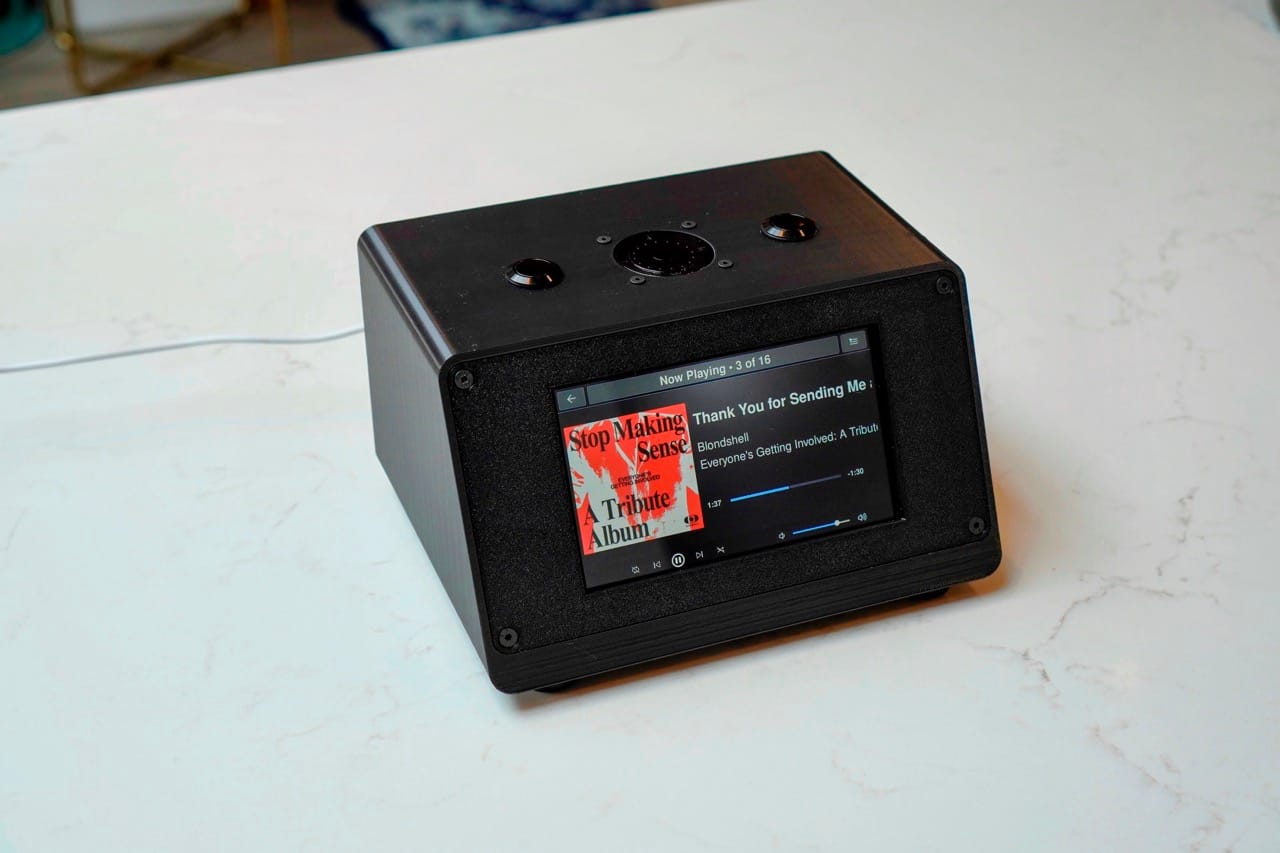
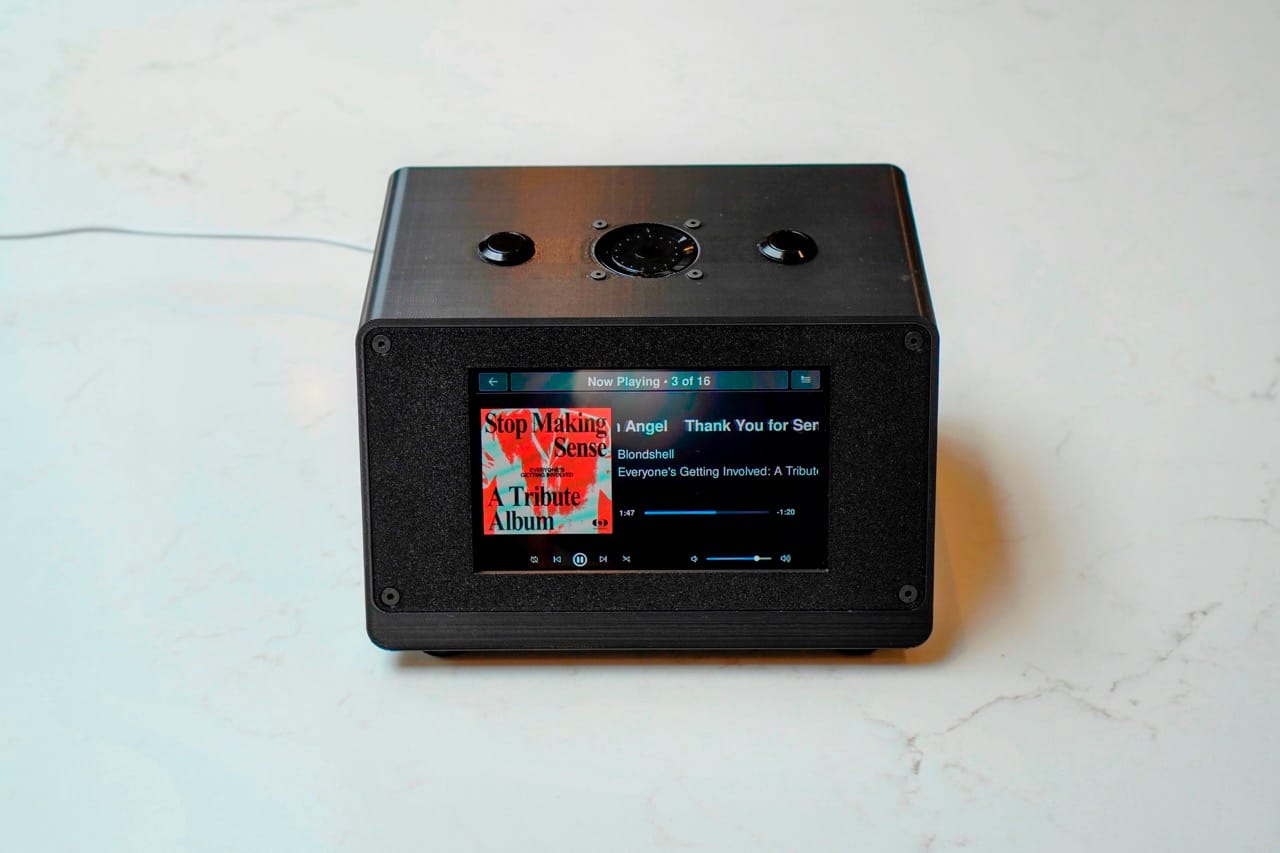
I have LMS players in almost all rooms, but I missed having it at my desk so I built this little network streamer using PiCorePlayer to give me a player in my study. I already have a decent DAC so I just wanted something that could pass the signal to it. I wondered about buying an actual streamer but was mostly put off by them being incredibly expensive, but I also don't like how all the screens are mounted completely flat - I think the angled design I've used here is far more practical for something you'd have at your desk.
Overall, I'm so pleased with how it's turned out! I think I'm done with it for the most part but I may spray paint it using metallic paint to really finish it off, but for now it's working and I don't want to cause myself new problems by dismantling it...
Here’s a more detailed breakdown:
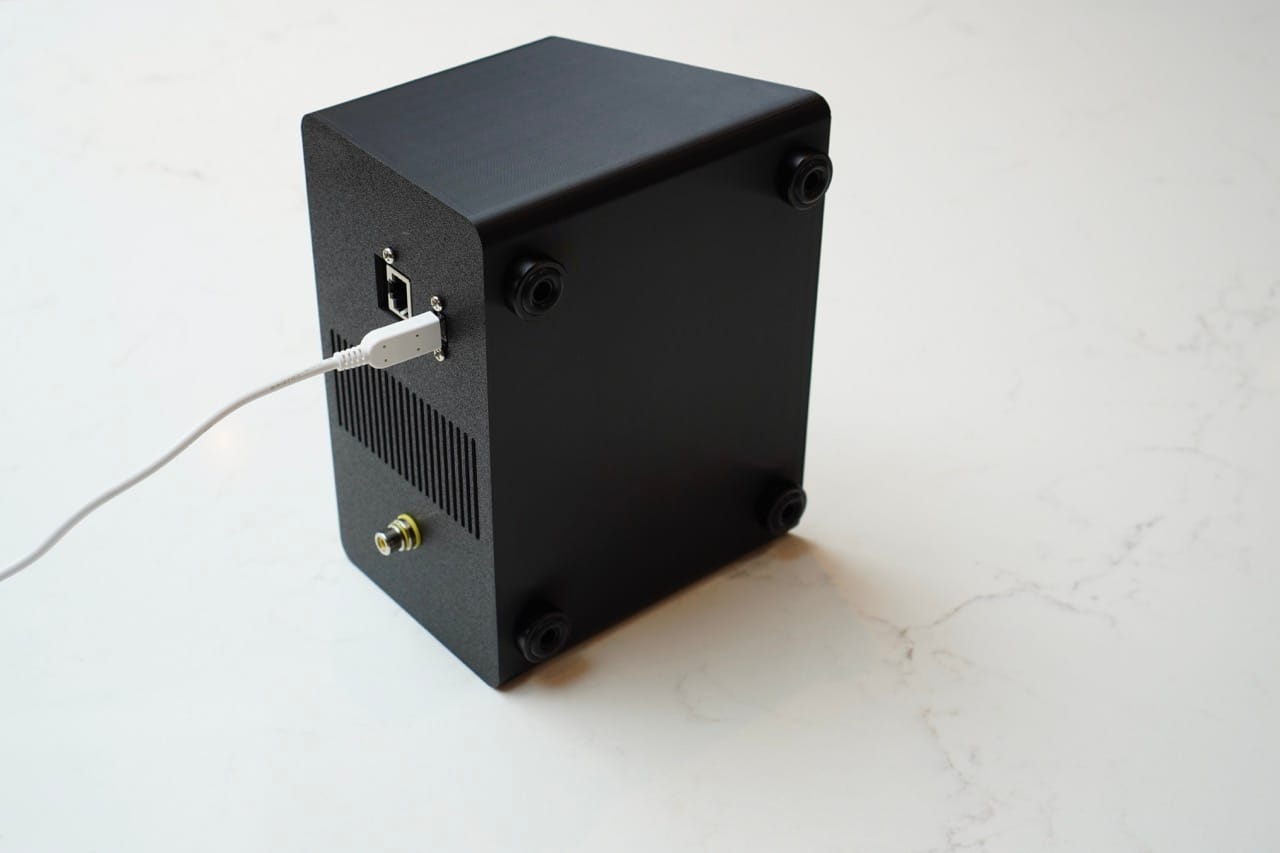
- The case is fully 3D printed on a Bambu Labs P1S using eSun PLA+. Find it on Printables here. It screws together using some M3 screws, plus some 2.5s for the encoder and panel mounts.
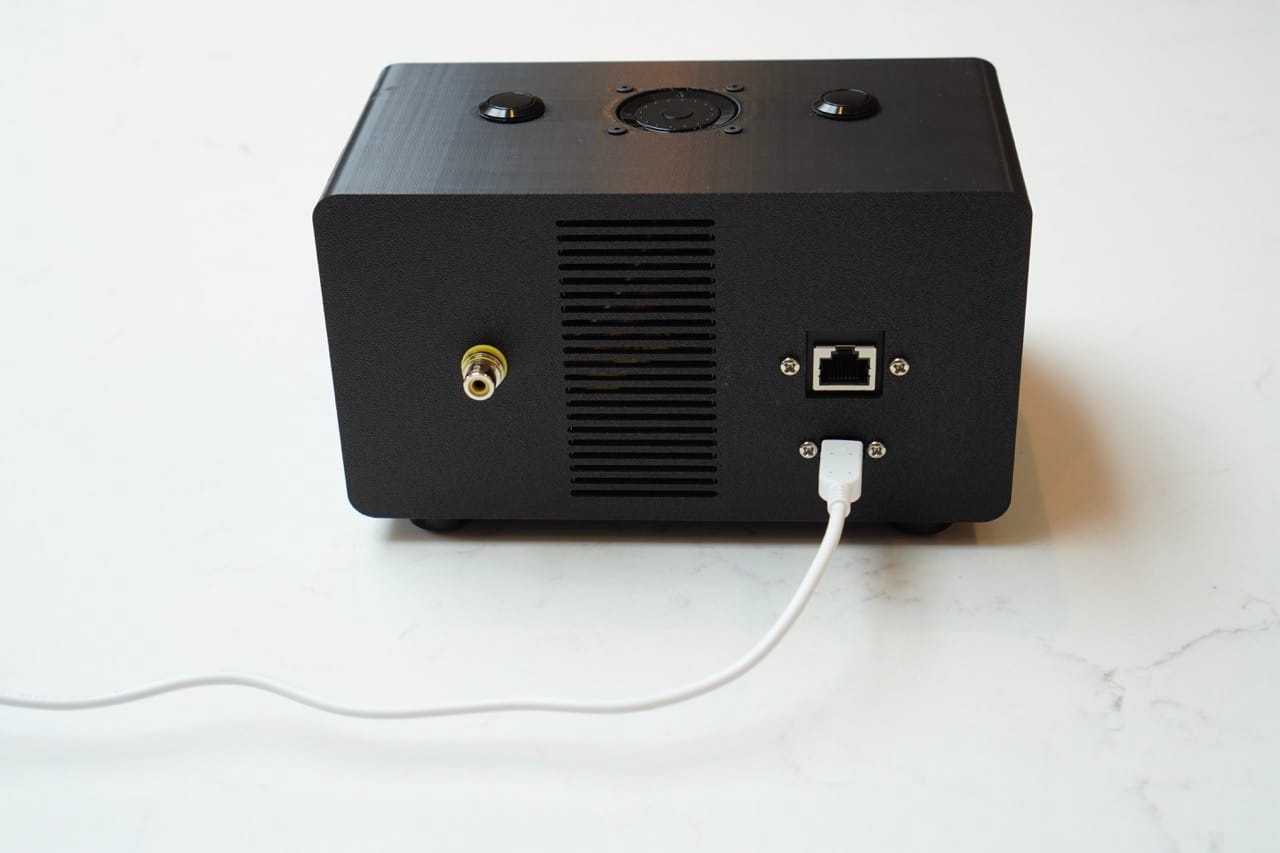
- PiCorePlayer is running on a Raspberry Pi 2 (with a USB WiFi adaptor for when I use it away from Ethernet - I'd have used a more modern Pi but this was what I had to hand) - Huge shoutout to the team who build PiCorePlayer, it's a fantastic bit of software, especially for projects like this.
- Audio output is provided by a HifiBerry Digi+, utilising the coax out to a panel mount coax on the back which then runs to my Topping DAC
- The screen is a BigTreeTech HDMI5. I managed to get this for just £13 from Temu a month or so ago so it ended up being one of the cheapest parts of the build!
- The buttons on the top are just simple 16mm momentary buttons for play/pause and jumping to the now playing screen. The encoder dial moves through the menus (E.g. up and down as you scroll it) and then up and down are for volume, left goes back a menu and right skips a track.
- The touch screen works. Weirdly, when I first tested it all out, it didn't work hence adding so many physical buttons but when I changed the USB cable connecting the Pi to the screen it randomly started working! Admittedly the screen is my preferred input but the physical buttons are still nice to have, especially when browsing long menus.
- The feet are machined aluminium, picked them up on eBay for very little, they give it a nice bit of extra weight and grip.